Christmas means a lot of things: twinkly lights, the fantastic smell of pine trees everywhere, looking for perfect presents — and cookies. Obviously.
 My mom gave me a fun little book with tons of beautiful ideas and instructions for decorating Christmas cookies this year…using royal icing. My only experience with royal icing before now was in the form of gingerbread house kits. All the gorgeously iced cookies you see in stores use royal icing, but it is one of the most difficult icings to work with. The consistency needs to be exactly right. You have to work very quickly and keep any icing you’re not using in airtight containers. The weather outside can affect how it mixes up.
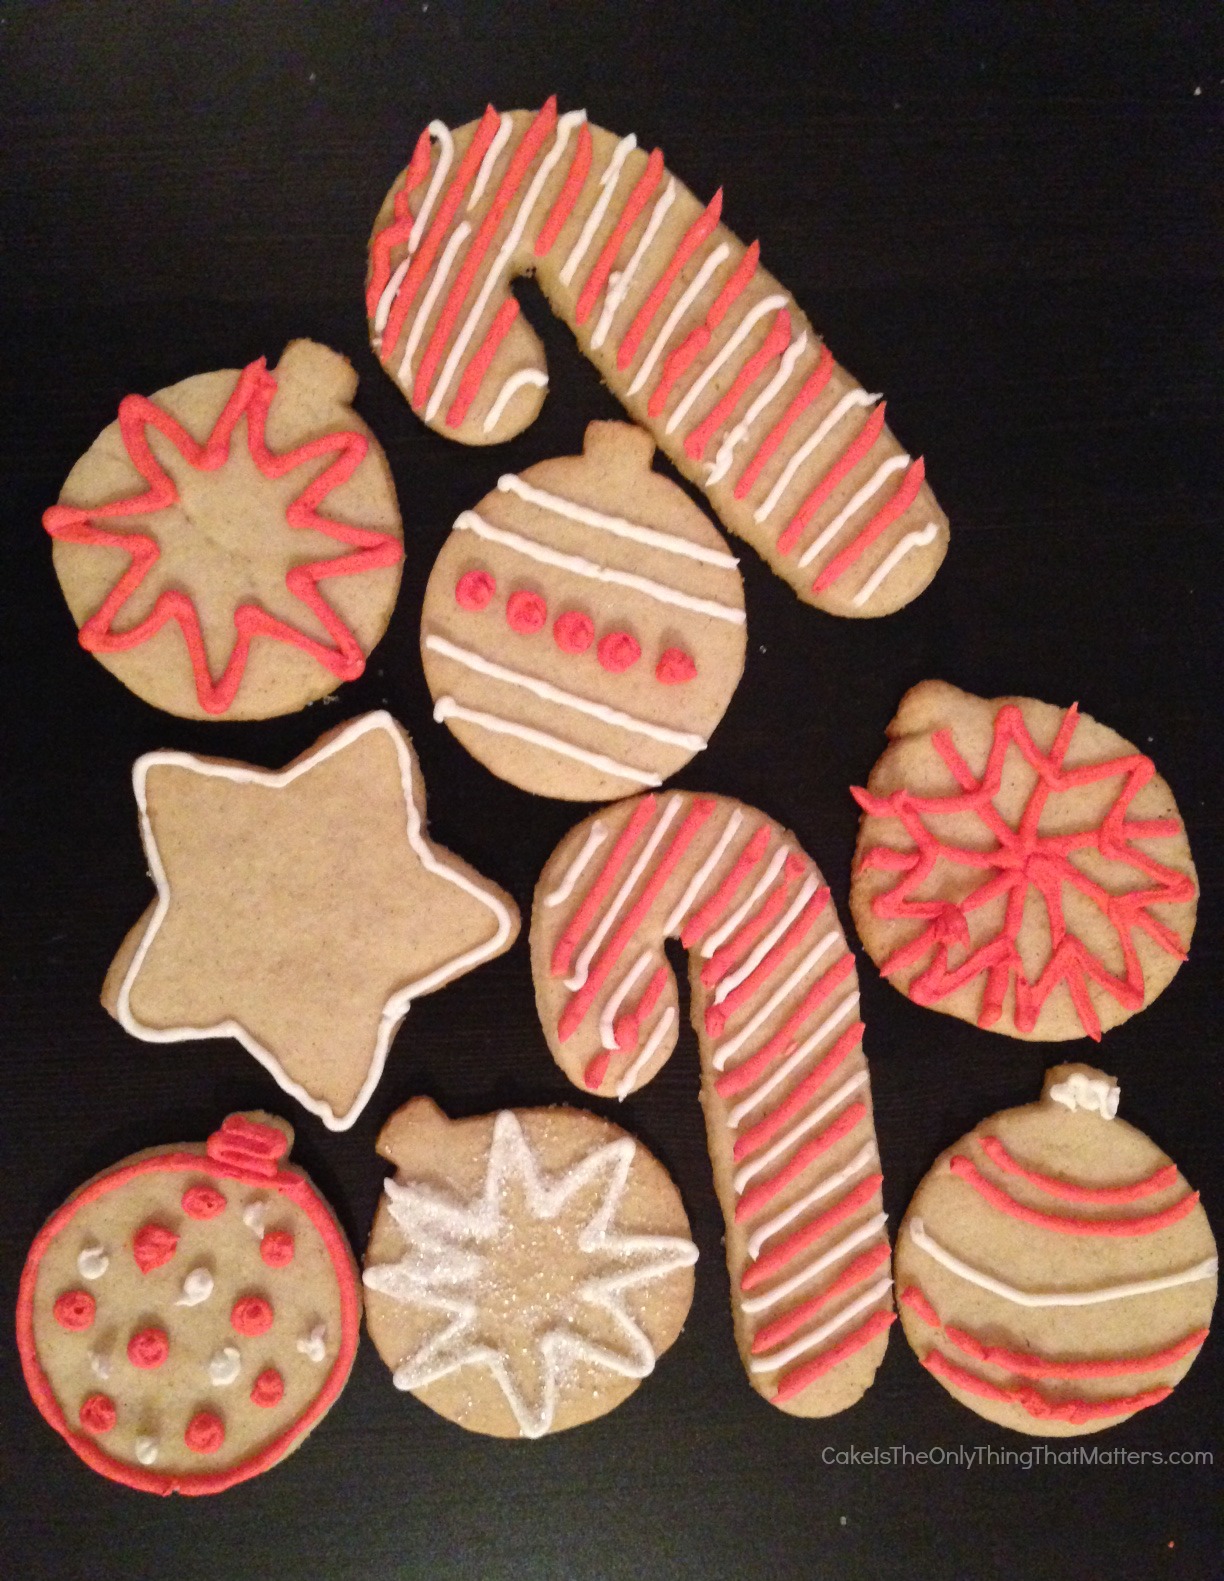
Nervous, I decided to just decorate these cookies with piping royal icing (flood icing is a more liquid-y version that you use to cover the entire cookie). It was hard, my hand hurt, and I made a bunch of ugly cookies at first, but the end results were quite pretty! These are definitely cookies to impress.
It says a lot about the difficulty of royal icing that I went on about it for two paragraphs and haven’t even gotten to making gluten-free sugar cookie dough. The Internet, surprisingly, was not flush with very many recipe options, so I adapted a recipe from Bon Appetit Desserts instead. This dough holds together quite well, but you’ll need to keep your cookies on the thick side — roll them out no thinner than 1/4 inch. I also recommend rolling out your chilled dough on floured parchment or wax paper, putting it back in the fridge to chill for a bit, and then cutting out your cookies. (And let’s be real here — everyone knows thicker sugar cookies are better anyway.)
 If you don’t want to mess with royal icing, 2 cups of confectioners sugar + 2 tablespoons of milk + a splash of vanilla makes for a lovely glaze.
Gluten-Free Sugar Cookies
Ingredients
2 2/3 cups gluten-free all-purpose flour, plus extra for duting (I like King Arthur)
1 tsp baking powder
1 tsp xanthan gum
1/2 tsp salt
1/4 tsp nutmeg
3/4 cup sugar
1 stick (8 tablespoons) salted butter, softened
1 stick unsalted butter, softened
3 egg yolks (from large eggs)
2 tsp vanilla bean paste or vanilla extract
one batch of royal icing at piping consistency, flavored and colored to your wishes (I used a mix from my favorite baking supply store, but here are a bunch of recipes)
In a medium bowl, mix together flour, baking powder, xanthan gum, salt, and nutmeg with a fork until very well combined (then mix a little more. You do not want any unmixed pockets of xanthan gum). Set aside.
In the bowl of an electric mixer fitted with the paddle attachment, cream butter and sugar at medium-high speed until super fluffy, at LEAST five minutes. Do not get impatient; go catch up on Twitter or something. Scrape down sides of bowl and add eggs and vanilla; mix on medium speed for one minute. Scrape bowl again, then add flour and mix on stir until well combined. Divide dough into thirds. Form each portion into a disk, flatten, and wrap in plastic wrap. Chill until firm, at least two hours and up to two days.
Preheat oven to 350F. Working with one disk at a time, roll out dough on a very well floured piece of parchment or wax paper, using a well-floured rolling pin (tapered rolling pins are where it’s at). Do not roll dough any thinner than 1/4 inch. Place rolled dough back in the fridge for 5 to 10 minutes (you can start rolling out your next disk while you wait). Remove rolled dough from fridge and cut out shapes of your choice. Place on cookie sheets about 1/2 to 1 inch apart and bake for 11 minutes. Let cool on cookie sheets for a few minutes, then carefully transfer to racks to cool completely.
When ready to decorate, make your icing and decorate as you wish. If you’re a royal icing beginner like me, stripes and polka dots are a good place to start. Think before tweeting a photo of them, or your coworkers will see and you’ll have to bring them all to work.
